Five simple methods are outlined in this article for revitalizing the deck of your Tahoe cabin. These methods range from fixing any broken or rotting wood to applying a new coat of stain or finish.
Tahoe Deck Repair – Let’s Get Started
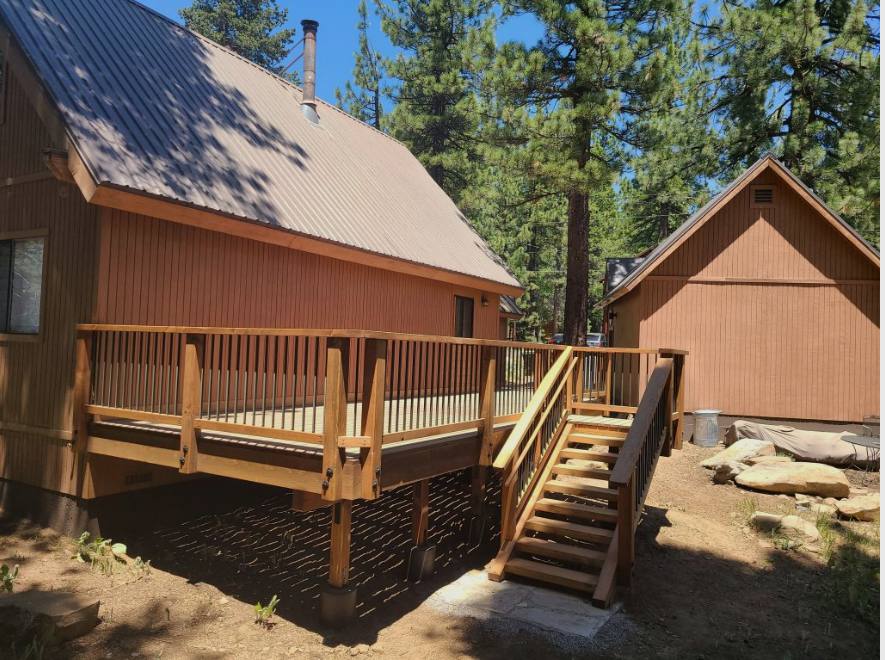
In your Tahoe cabin, the deck serves as an extension of the living space. A deck that has been well maintained is an asset whether you plan on entertaining guests or just taking in the scenery. Not only will your outdoor living area last longer and look better if you keep up with routine maintenance and repairs, but you will also enjoy it more for a longer period of time. Here are 5 simple ways to give your Tahoe cabin deck a new look and feel. We’ll go over everything you need to know to bring your deck back to life, from evaluating damage and decay to picking the right stain or finish. Now then, let’s get this show on the road!
Examining the Ruins and Damage
It’s smart to take stock of your deck’s state before diving headfirst into fixing it. Check for issues including warping, splintering, discolouration, and insect infestation. Check for decay by probing it with a screwdriver and seeing how the deck reacts to wetness. Before you can refinish your deck, you may need to repair any seriously damaged boards or posts. In addition, check the security and steadiness of the stairway and rails. You may start getting your deck ready for refinishing after you have an idea of what fixes are required.
Wood Restoration Involves Cleaning and Sanding
Cleaning and sanding the wood before adding a fresh finish is the next step once damage has been assessed. First, get rid of the surface grime and buildup on your deck by sweeping it with a bristle brush or with a pressure washer. Then, employ a deck cleaner or Oxiclean to eradicate any remaining residue. To better prepare the wood for cleaning and staining, use a circular sander. Sanding can be dangerous, so it’s important to take precautions like wearing safety glasses and a mask. Inspect the work for spots that need use extra sanding, and clear the area of any sawdust or debris before applying the finish.
After you’ve finished with these, your deck is ready for the next refinishing stage. The fifth and last installment will focus on refinishing or re-staining the deck, so stay tuned!
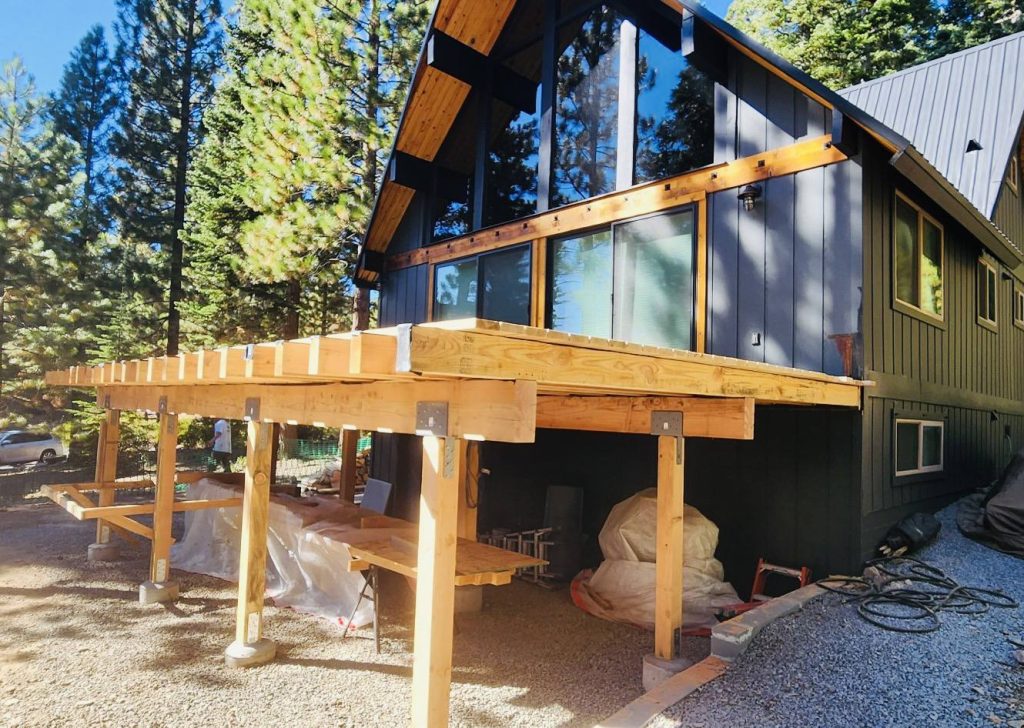
Equipment and Materials Required for Fixes
It’s crucial to have all the required equipment and materials on hand before beginning any sort of repair work. It’s possible that you’ll need tools like saws, drills, screws, nails, wood glue, and joist hangers in addition to the ones already on hand, depending on the severity of the decay or damage to your deck. Deck planks and railings might need to be replaced, so that’s another expense to factor in. If you need advice or instructions on how to fix or maintain wood in your home, visit a home improvement store.
Finally, before you stain or refinish your deck, you should stock up on a good sealant. Sealants are made to prevent water from entering and further deterioration of the wood. Choose a sealant that works with your deck material from the many available. In addition, inquire at your neighborhood hardware shop for advice and tips on how to properly apply wood sealant.
You can update your look and feel with confidence now that you have access to the resources you need.
How to Pick the Perfect Deck Stain or Finish
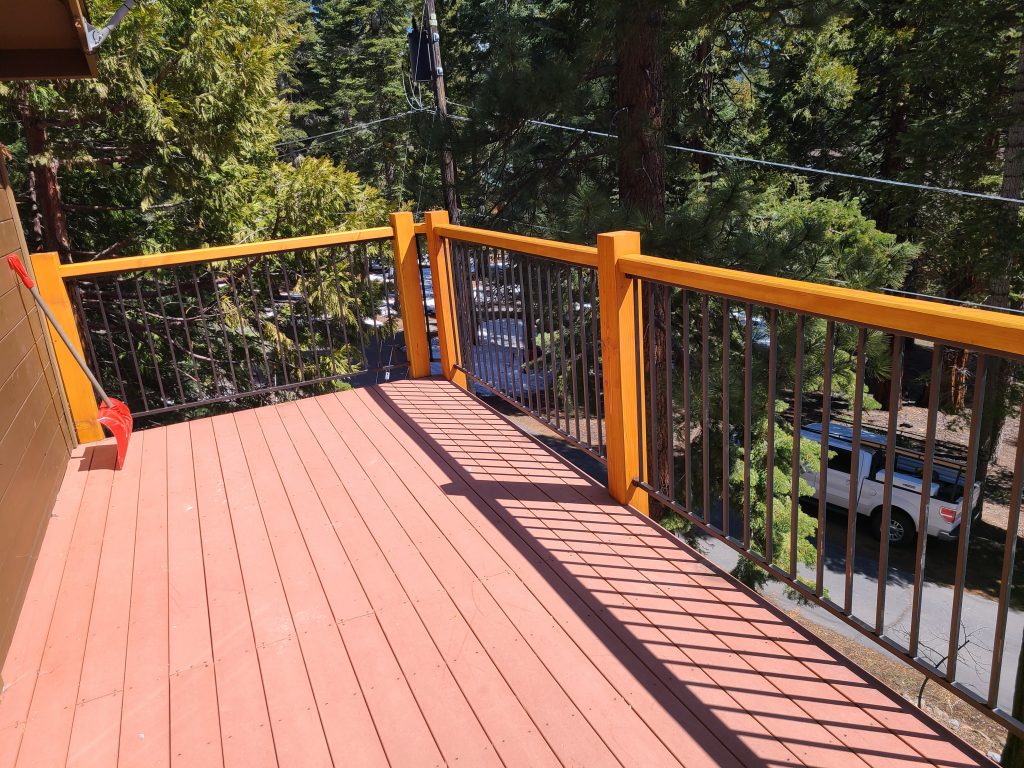
In the end, it’s up to you to decide what kind of stain or finish you want to apply to your deck after you’ve evaluated the damage and decay, sanded your wood, and gathered all the required materials. It’s important to take into account the type of wood being worked with, the desired color and sheen, and any special finishing requirements when making a stain or finish selection. For instance, a water-resistant finish is suggested for an exotic species of hardwood like Ipe, while a penetrating oil-based stain is ideal for cedar decks. To add insult to injury, you may need to use several coats to achieve full coverage if you go with a semitransparent stain.
There are countless variations in color and sheen to choose from, from understated neutrals to eye-catching brights, so take your time and find the perfect one for you. After deciding on a desired finish and color, the next step is to get the surface ready for it. Before applying any finish, be sure to read the product’s instructions to learn about any special preparations or ways to apply the finish.
All of the above should be taken into account when deciding on a stain or finish for the deck of your Tahoe cabin. Keep in mind that you want to build a deck that will last for many years while still looking great. Preparation and planning will pay off in the form of a beautifully finished outdoor area.
You can now start applying the stain or finish to your deck after you have made your final decision. First, give the product a good shake or swirl to combine the ingredients. If the product has been sitting on the shelf for a long time, you may need to use a paint stirrer to get it moving again.
The next step is to begin applying the stain or finish using a brush, roller, or sprayer in small pieces. Be thorough in your application and try to prevent leaving any puddles or pools of substance behind. When brushing or rolling, employ long strokes and always work against the grain of the wood for the best results.
Check for any areas that need further attention after the first coat has been applied. Two or three coats of Deck Stain or Deck Sealant are recommended for the best results. Waiting for each coat to dry before applying the next is recommended for uniform coverage. After the paint has dried, your deck will appear brand new and be ready to handle whatever nature throws at it.
Your Tahoe cabin deck will look like new with very little work if you follow these guidelines.
The Final Steps
It’s time to put the finishing touches on your deck now that it has been fixed, refinished, and stained or sealed. All of the nails should be driven home and any exposed screws should be covered with Deck paint to blend in with the wood. Also, use deck paint to repair any warping or cracks you find. Doing so will help prevent further harm to your deck in the future.
Last but not least, think about finishing out your deck with some new furnishings and accents. Deck furniture serves a practical purpose but also has the potential to enhance the aesthetic appeal of your outdoor space, making it more pleasant to spend time outdoors with friends and family. Planters, lights, and other deck accessories can increase your Deck’s visual attractiveness.
You can extend the life of the Deck on your Tahoe cabin by following these care and repair instructions. If you give it the TLC it deserves, it will continue to be a stunning addition to your patio or garden for many years to come.
Is it possible that this task is too large for you to handle?
A professional deck contractor should be consulted if the required deck repair work is too extensive for you to do on your own. Eagle Bear Construction has the expertise to complete any project successfully. They also have access to specialized equipment and materials that can make deck repairs and upkeep go more quickly. With their assistance, you can make sure your deck won’t fall apart before its time. Deck staining, deck sealing, and deck refinishing are all services that Eagle Bear Construction may give if requested. If you want your Deck to last as long as possible and look its best, it may be better to hire a professional Deck contractor.
Simply fill out our online form, which is always open (even if you’re reading this after normal business hours), to introduce yourself and describe the project you have in mind. I think that covers everything. As soon as we receive the data, we will contact you.
